Welcome to the first edition of “screaming into the void about what’s on my box”, this time about collaboration! These are tools I personally use a ton for sharing content with others — that content being text, slightly richer documents, files and code.
“A community managed lightweight code hosting solution written in Go.”
“An open source pastebin application.”
These applications all require a web server to proxy requests to them and some sort of database. If you’re just getting started, check out my Basics article to read up on getting those services integrated into your hosting setup.
Lastly, a quick disclaimer: I’m entirely self taught, haven’t worked as a “professional” sysadmin in roughly a decade, and am a pretty big fan of just winging it. Throughout this series, I’ll be including sample configurations based on my own setup, and while I can (mostly) promise these configurations work, I definitely can’t promise they’re ideal. I’m by no means a container expert, and you shouldn’t take my setup as gospel for “how a smart person does their Dockering,” but consider them a good starting point. That being said, let’s talk about some cool tech!
Send
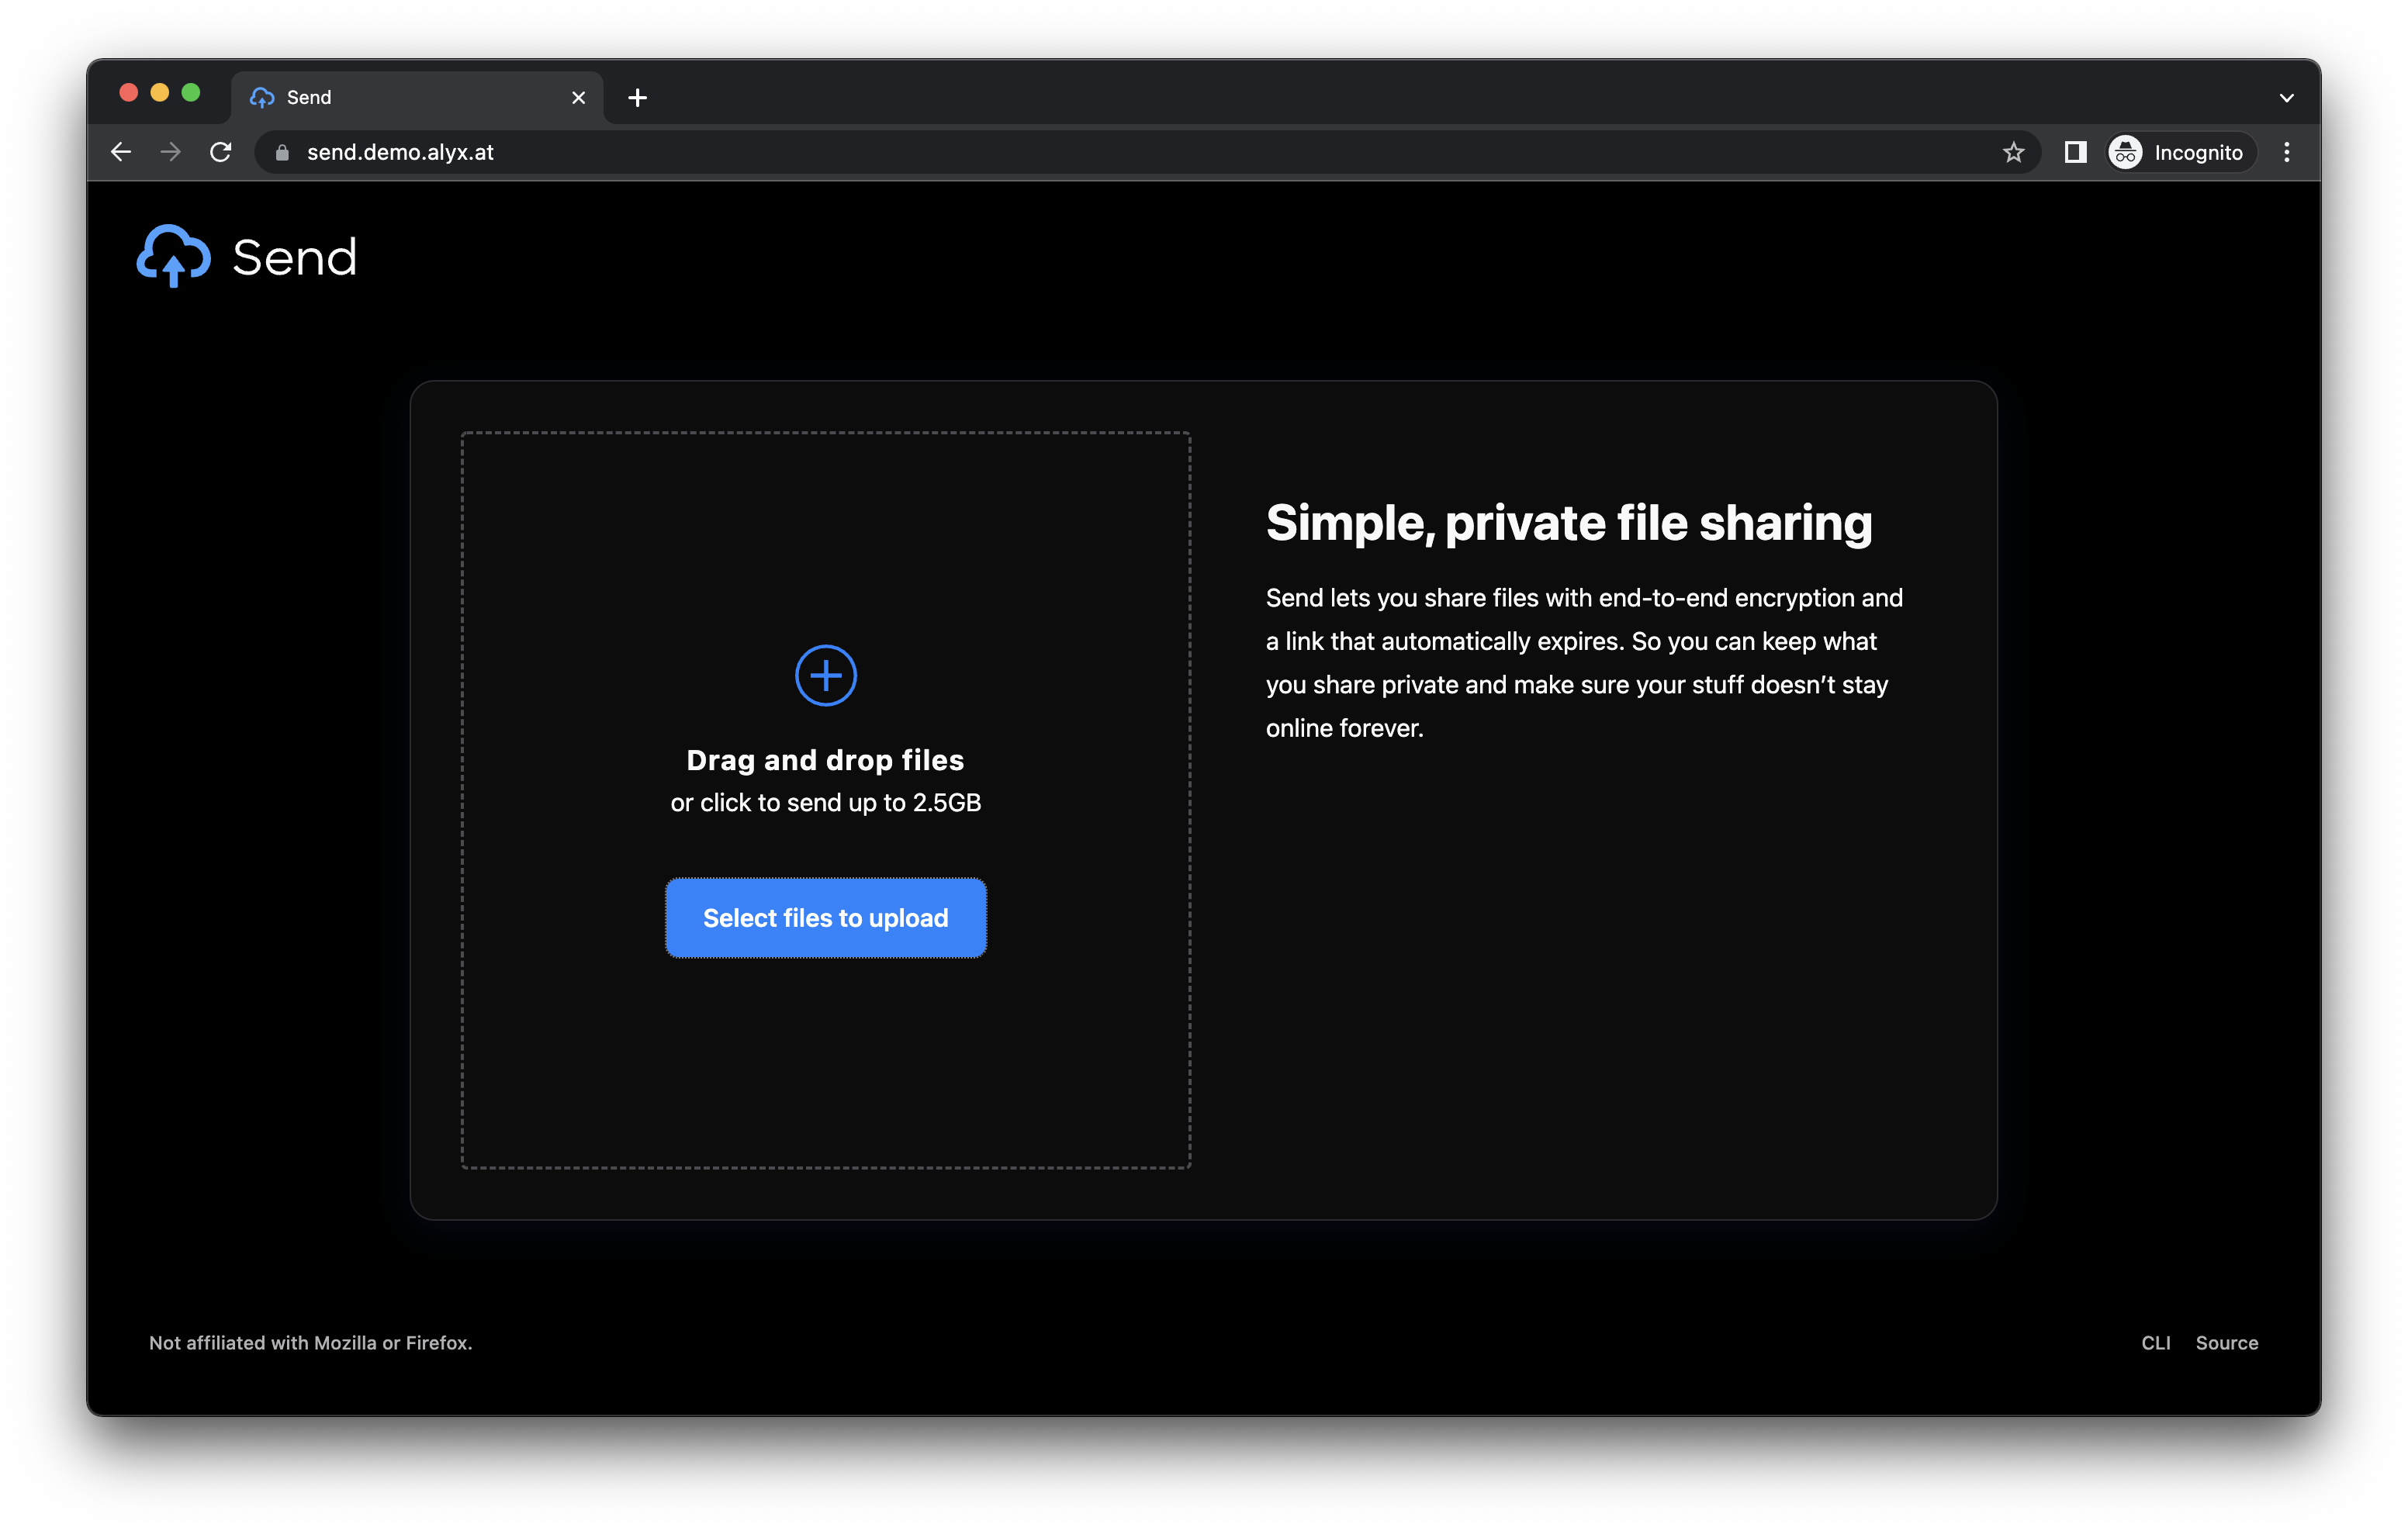
Send bills itself as “simple, private file sharing” and damn does it deliver. Send is an unbranded continuation of Mozilla’s original Firefox Send project, a platform to send files with end-to-end encryption and no required logins. Send allows some amount of per-file configuration, such as setting how many downloads the file lasts for, how long it lasts before it expires, and optionally adding a password to the download for even more security than the unique link it generates.
Send also locally stores what files you’ve uploaded, allowing you to quickly grab a link for a file you’ve already uploaded, super handy!
Setting up Send
Send offers a ton of customization, but a basic “production” Send setup can be as simple as this:
  redis:
    image: redis:alpine
    volumes:
      - /srv/data/redis:/data
    restart: unless-stopped
  send:
    image: registry.gitlab.com/timvisee/send:latest
    depends_on:
      - redis
    environment:
      - S3_BUCKET=demo-send
      - S3_ENDPOINT=us-southeast-1.linodeobjects.com
      - AWS_ACCESS_KEY_ID=[redacted]
      - AWS_SECRET_ACCESS_KEY=[redacted]
      - REDIS_HOST=redis
      - BASE_URL=send.demo.alyx.at
    restart: unless-stopped
One thing you’ll notice right away is that this isn’t just a compose for one service, it’s for two! Send uses Redis, an in-memory data store, for storing its data.
We didn’t cover Redis in The Basics, as generally you’ll want to run a separate instance of Redis for each application that uses it, but its setup is real simple. All we need is the image (I use redis:alpine for a bit smaller of an image) and a volume for Redis to store persistent data. Redis runs as a server on port 6379, but as with most of our backend servers, we don’t want this published publicly — even more so in this case, as Redis doesn’t have any authentication by default!
Back to Send, the next thing you’ll notice is we’ve got a lot more environmental variables than we saw in anything from The Basics. Send can use either local filestorage or ship uploaded files to an S3-compatible service so they’re not filling up your server’s hard drives. Personally, I greatly prefer using S3-style services for this; S3-type services are dirt cheap (especially compared to block storage!) and shipping these files off my server means I can comfortably run Send even on a small VPS with minimal local storage, without having to worry about all my space being used up.
Breaking down the full docker-compose entry:
- First we create a redis service, with a persistent data volume.
- Then we create the actual send service using an image provided by the Send maintaine
- We use
depends_onto specify to Docker that before Send can start, Redis needs to be running. - We then use environmental variables (which, as always, should really be an
env_file) to tell Send all the details of how to connect to our S3 storage, to tell it where it can find the Redis instance it needs, and to tell it what the URL it’ll be served from is.
Lastly, we’ll need to hook Send into Caddy, which is super simple. In our Caddyfile, we can just add:
send.demo.alyx.at {
	reverse_proxy send:1443
}
This adds the domain we’re using for Send to Caddy, and proxies it back to where our Send instance is listening, on port 1443. Refer back to The Basics for more details on working with Caddy.
About S3
S3, or Amazon Simple Storage Service, is a type of “object storage.” Instead of being a standard file server, it’s specialized in storing bulk amounts of “objects” (files). While S3 technically refers to specifically Amazon’s proprietary platform, the S3 concept and the underlying protocol have become the de facto standard for object storage. As such, there’s a ton of alternatives! If you want to 100% self-host, open source solutions like Minio are available for you to run on your own hardware; if you’re comfortable using a hosted solution, nearly every cloud-ish hosting provider has their own S3 implementation — in my example, I’m using Linode’s object storage because I’m using Linode anyway, but providers like DigitalOcean and Vultr also offer essentially the same thing.
Generally, as long as the app you want to host supports a custom S3 endpoint, you can use whichever self-hosted or managed S3-style solution you prefer.
HedgeDoc
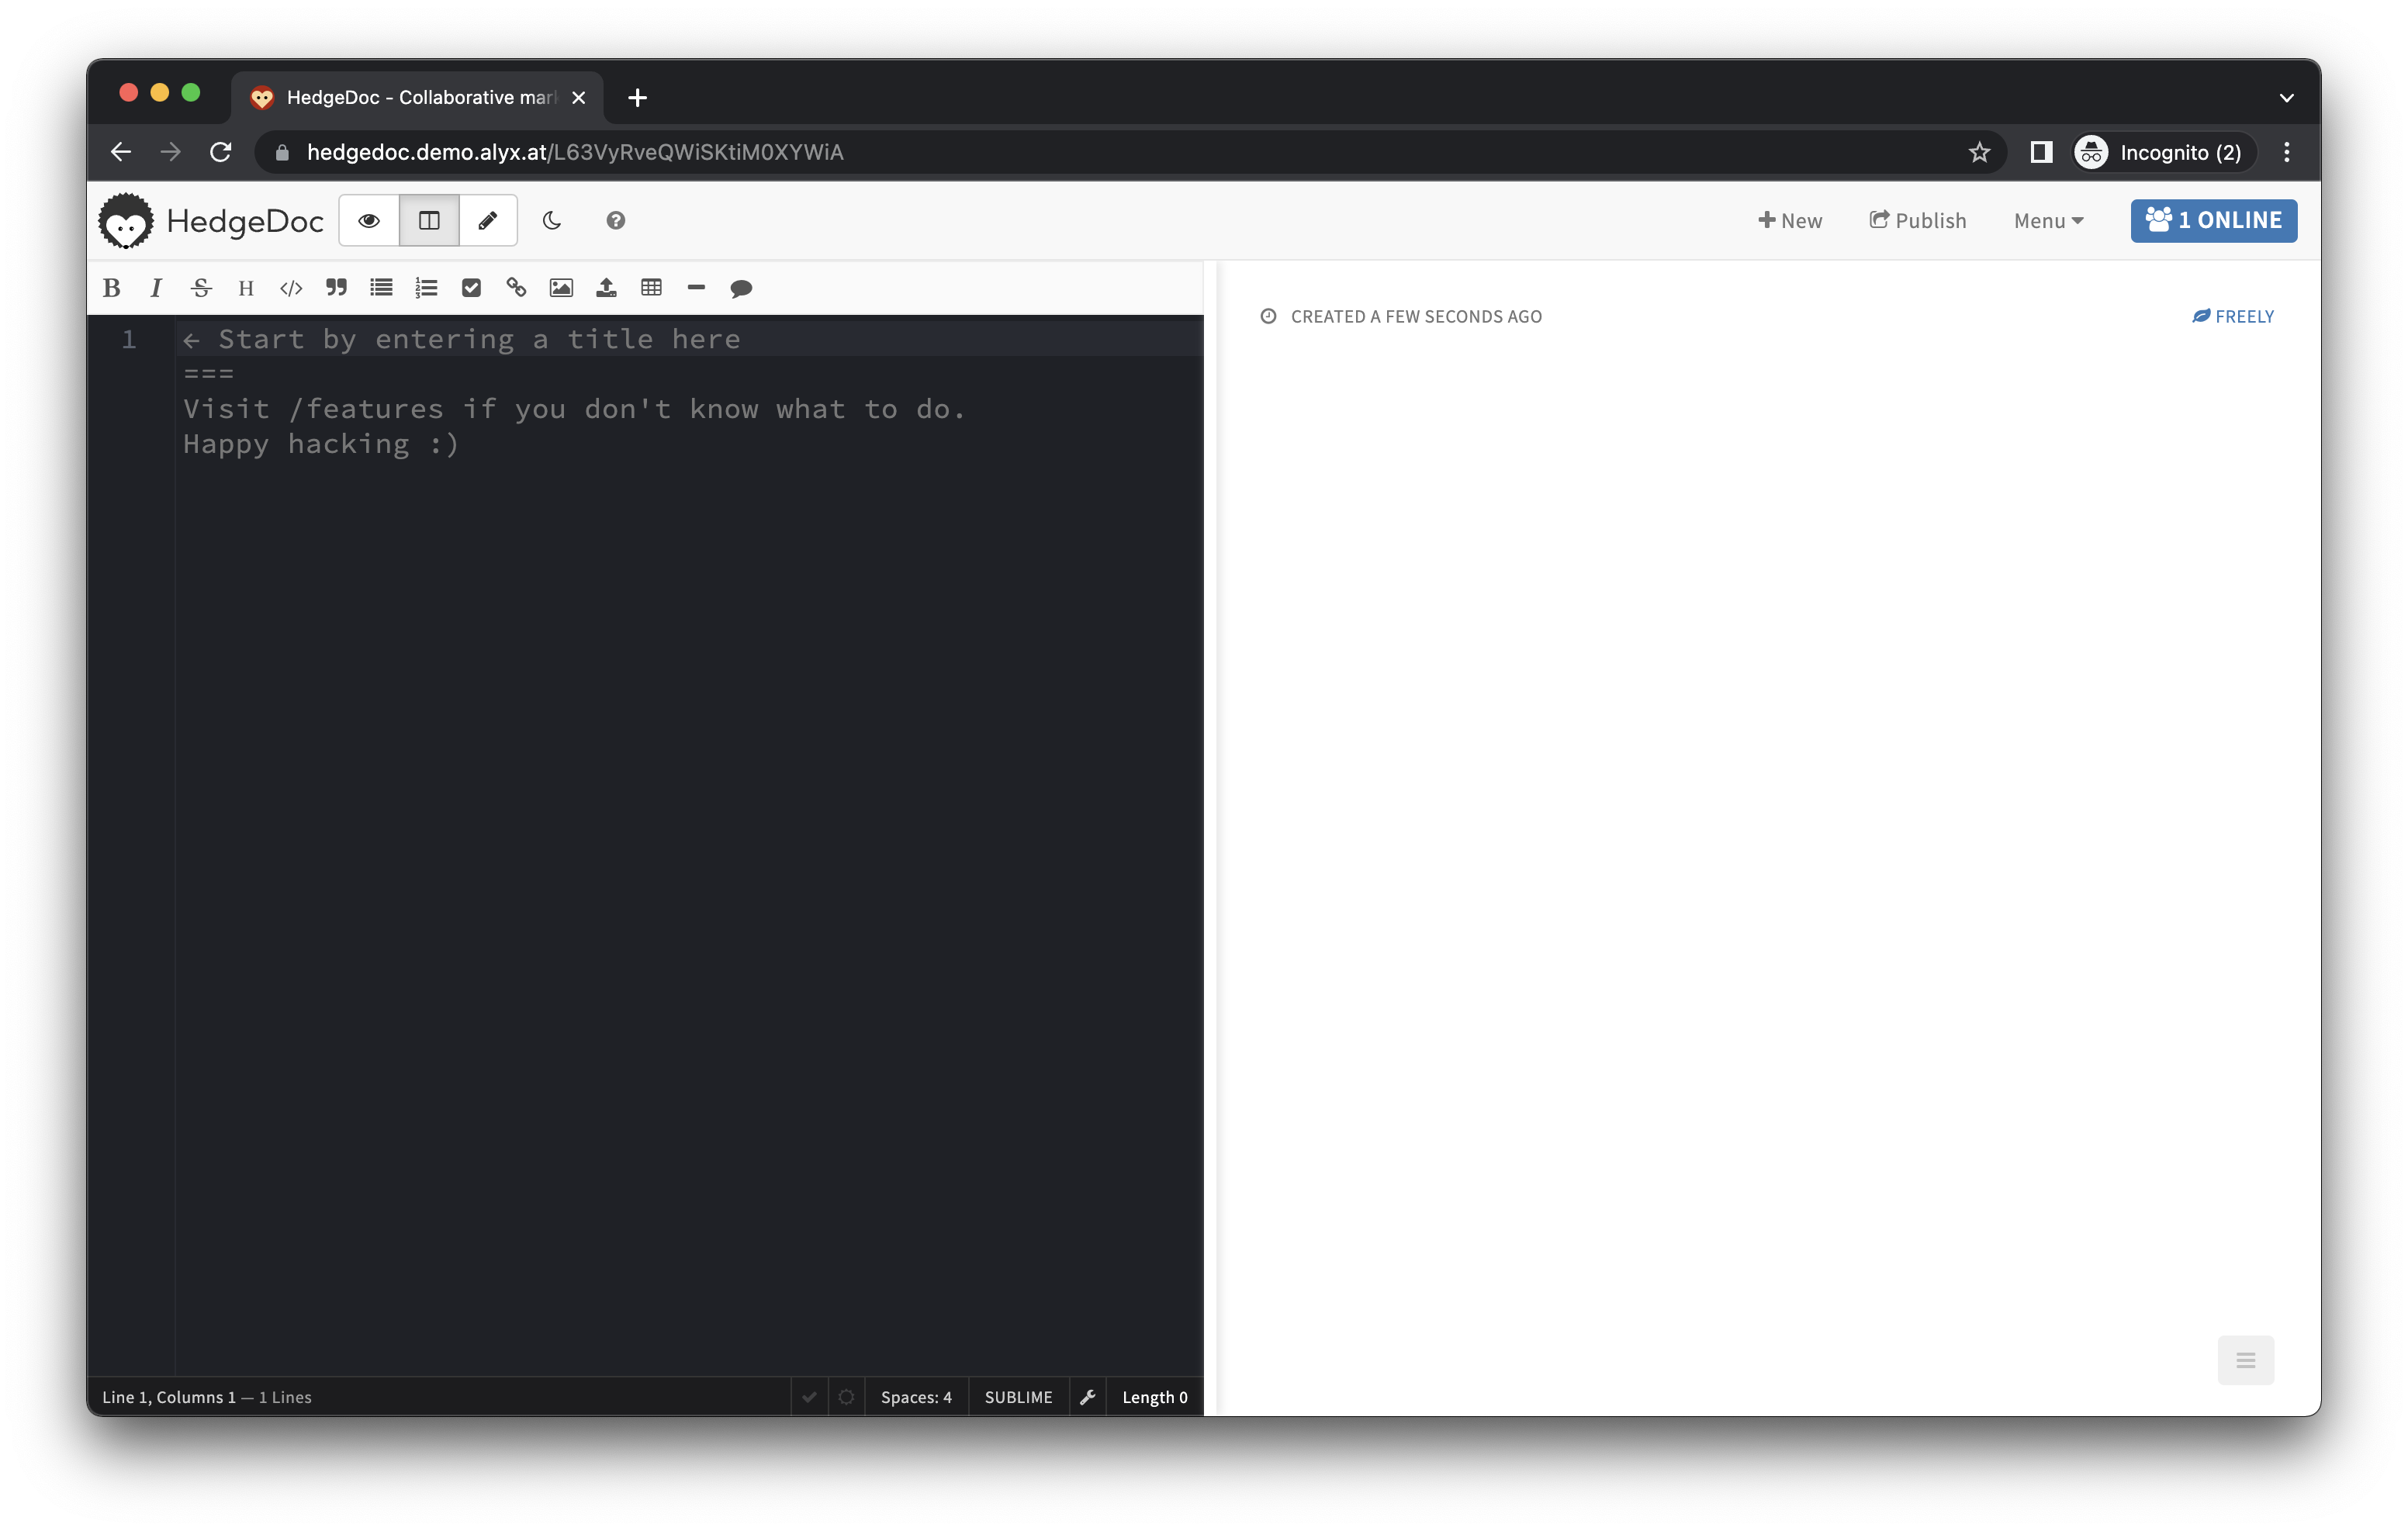
HedgeDoc is a Markdown editor with some awesome collaboration functionality. In addition to being a killer Markdown editor (able to handle charts and graphs, as well as generate presentations!), HedgeDoc supports real-time collaboration — you and a friend or colleague can edit the same document, at the same time, and see each other’s changes as they’re made. If you’re working with someone else to build out some documentation, a report or a blog post, the real time aspects can come in very handy, and HedgeDoc is one of the only Markdown editors with this functionality baked in.
HedgeDoc has a ton of configuration options available to help it fit into your ecosystem — including almost a dozen different ways to log into it! — so it’d be a good idea to check out their full configuration docs when you set it up, but we’ll go over a real basic setup here.
hedgedoc:
  image: quay.io/hedgedoc/hedgedoc:latest
  depends_on:
    - postgres
  environment:
    - NODE_ENV=production
    - CMD_DOMAIN=hedgedoc.demo.alyx.at
    - CMD_PROTOCOL_USESSL=true
    - CMD_DB_URL=postgres://hedgedoc:[redacted]@postgres:5432/hedgedoc
    - CMD_IMAGE_UPLOAD_TYPE=s3
    - CMD_S3_ACCESS_KEY=[redacted]
    - CMD_S3_SECRET_ACCESS_KEY=[redacted]
    - CMD_S3_BUCKET=demo-hedgedoc
    - CMD_S3_ENDPOINT=us-southeast-1.linodeobjects.com
    - CMD_SESSION_SECRET=[redacted]
Similar to how we configured Send, you’ll notice HedgeDoc also doesn’t need any volumes, that’s because we’ve configured this app to use an S3-style service too! HedgeDoc uses your preferred database to store the actual Markdown documents (as well as user registration and other various metadata), but can store multimedia content either locally on the filesystem or in an S3-style service. We specify which to use with the CMD_IMAGE_UPLOAD_TYPE environmental variable, and provide the credentials using the CMD_S3_* series of variables.
For the first time, we’re actually using one of the databases we setup in Basics. HedgeDoc comes with support for both MySQL (MariaDB) and PostgreSQL built in, so you can choose whichever you’d prefer. If your other services are already using only one of those databases, this gives you the ability to run HedgeDoc without needing to bring a whole extra database server in with it! We tell HedgeDoc how to hook into the database with the “DB URL” in CMD_DB_URL. This is in the format of [protocol]://[username]:[password]@[host]:[port]/[database]. Note: this means you do need to create a user and a database within your SQL server.
Lastly, let’s go over a few things unique to HedgeDoc.
CMD_DOMAINandCMD_PROTOCOL_USESSLtell HedgeDoc how to format its links; these specify what domain HedgeDoc is running on and whether or not the site is going over HTTPS.NODE_ENVtells Node.js (the underlying platform HedgeDoc is built on top of) whether this is a development installation or a production one. If you’re not sure which one you need, you probably needproductionhere.CMD_SESSION_SECRETis a unique key HedgeDoc uses to securely encrypt user sessions. You’ll pretty frequently see applications need some sort of “session secret” variable, as these are used like an application-level password to make sure people can’t fake being logged in. HedgeDoc recommends you generate their session secret key withpwgen -s 64 1.
Lastly, like Send, setting up Caddy to proxy the requests is a piece of cake:
hedgedoc.demo.alyx.at {
	reverse_proxy hedgedoc:3000
}
Gitea
There’s a ton of different options for hosting your own code, but Gitea is my go-to given its small footprint and easy setup. If you need a one-stop GitHub replacement with every feature, GitLab may be more your speed, but for a simpler, lightweight option that still has a similar core experience, Gitea rocks.
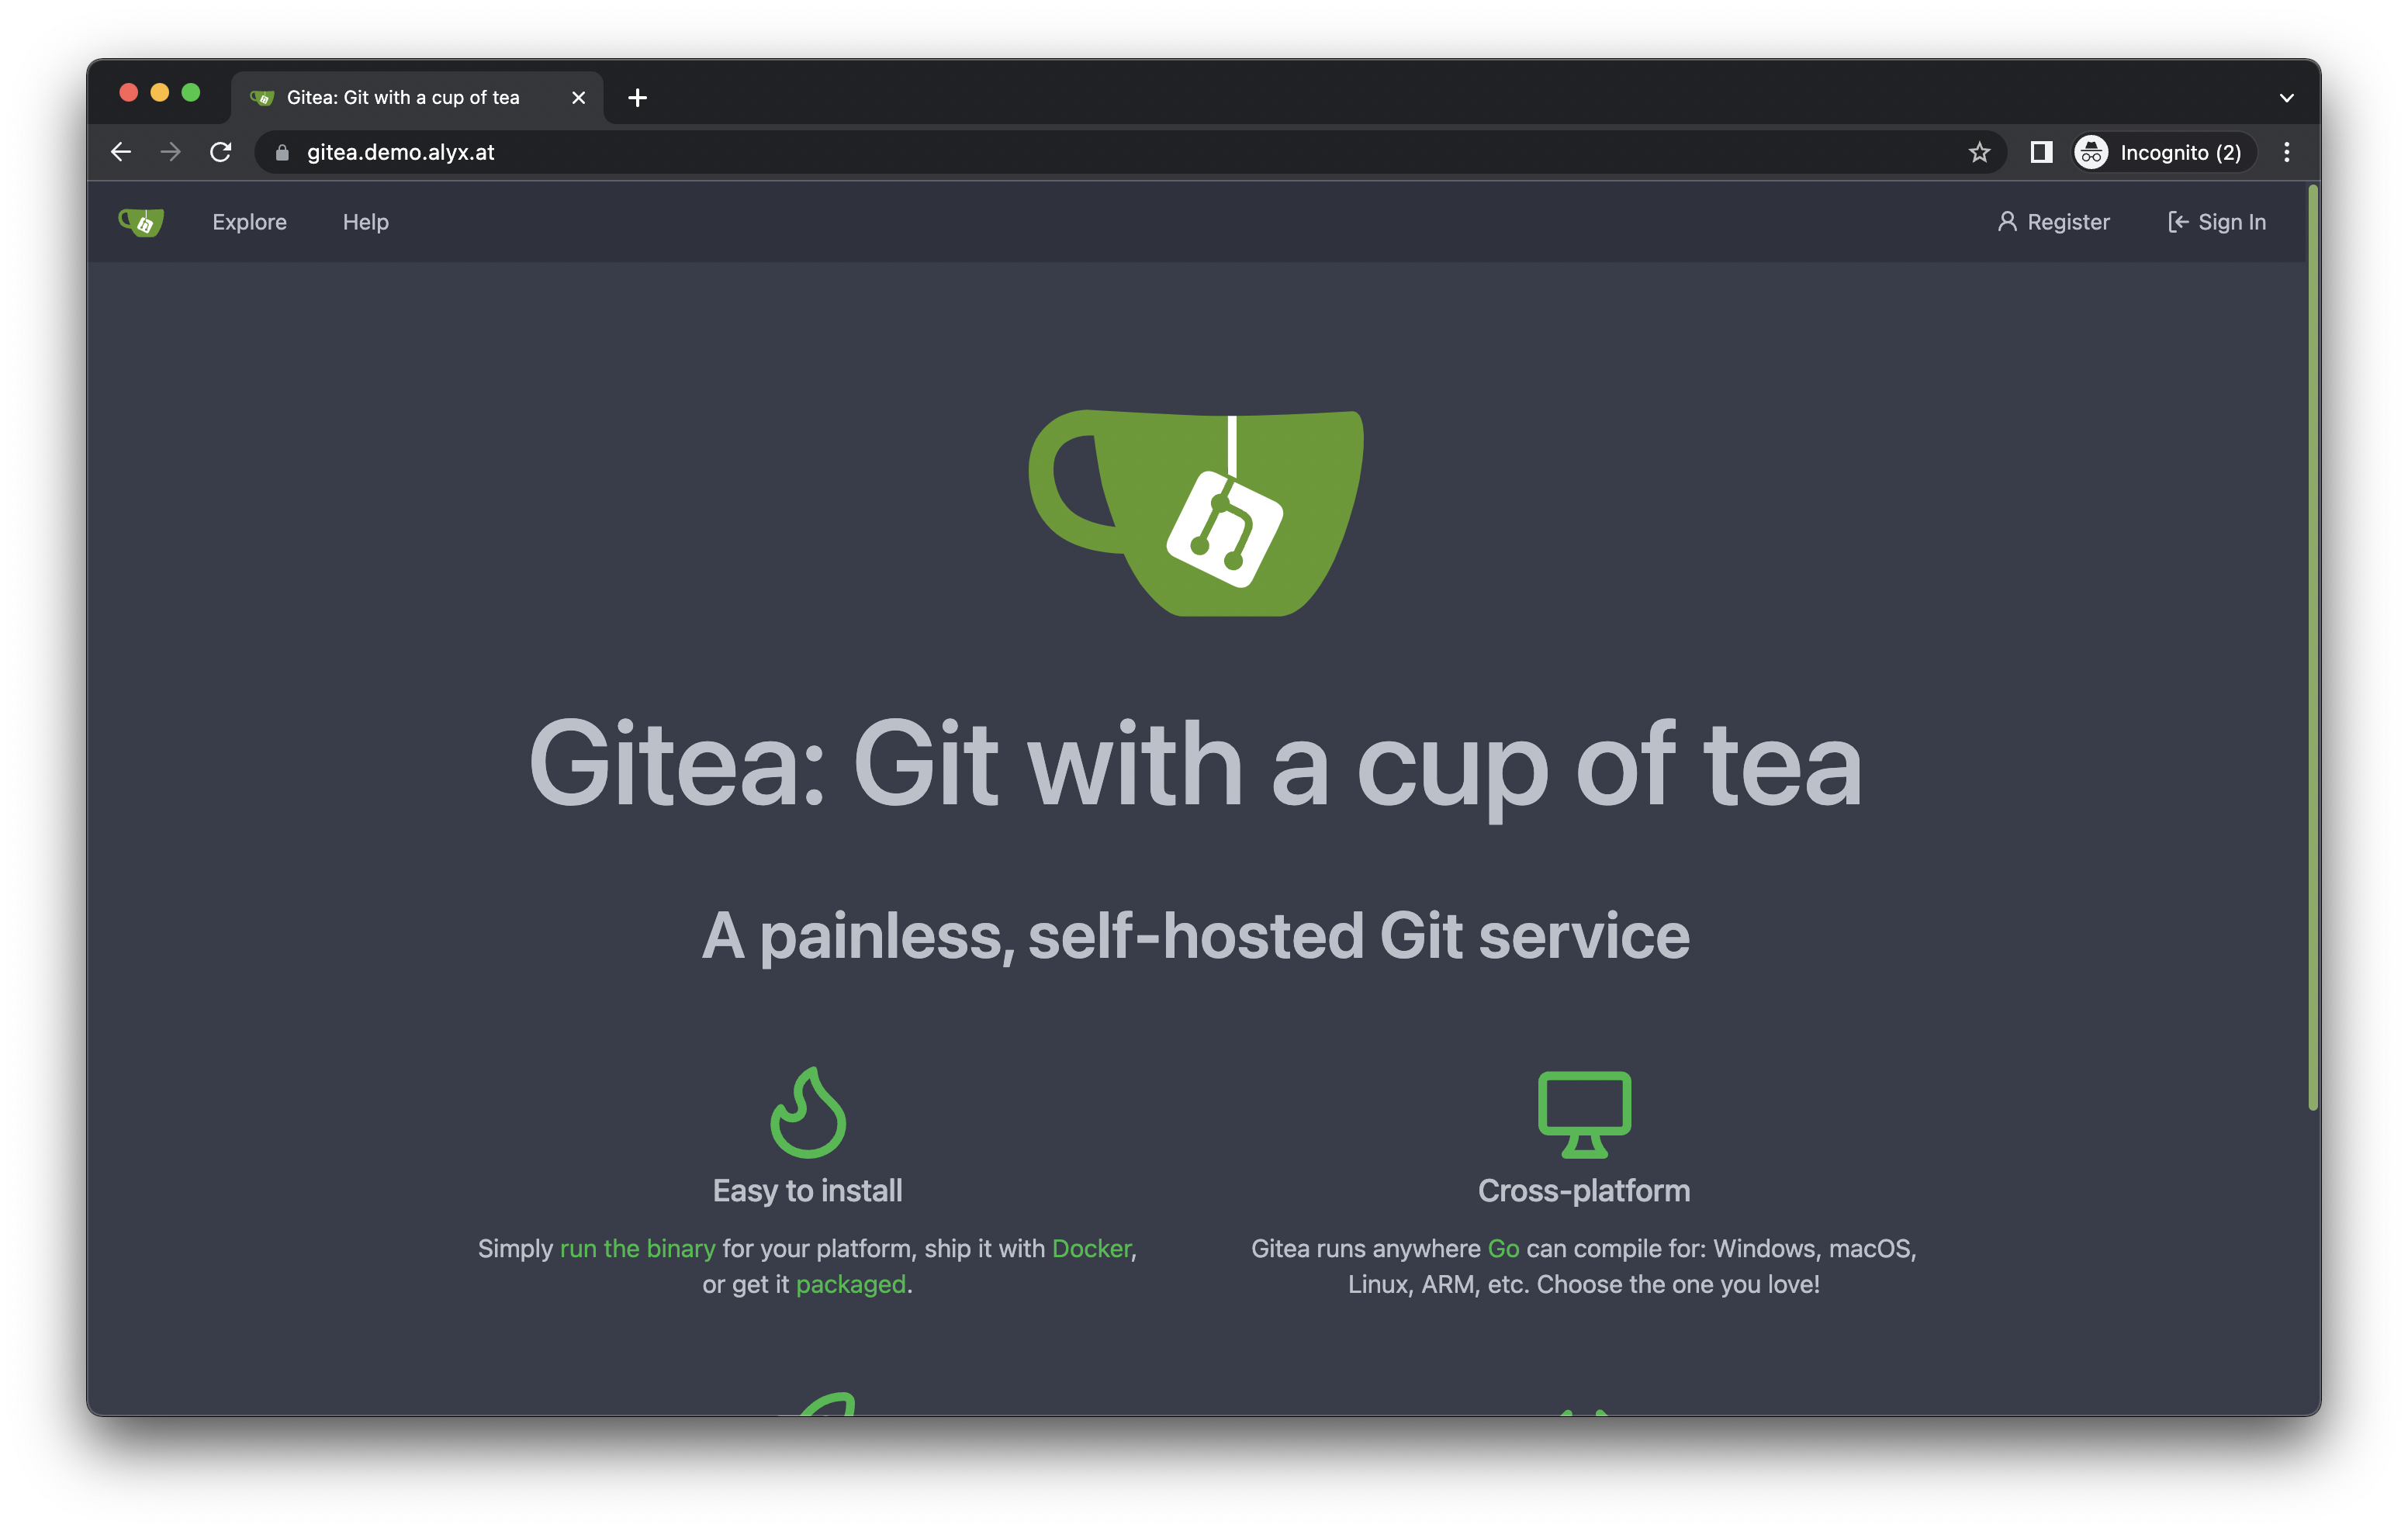
Even with a focus on being lightweight, Gitea comes with a ton of features most people expect in a Git forge — the obvious support for multiple users, groups and repositories with individual permissions; an integrated issue tracker; pull request functionality; built-in wiki support; and, with Gitea’s 1.17 release, a built-in package registry with Docker/OCI image support! For many, many usecases, Gitea works just as good as a “big” platform like GitLab or GitHub, but on your own server and speedy as hell.
While most of the application configs featured so far have been super bare bones, we’re going to go a little deeper with Gitea for usability’s sake. In addition to the normal bits it needs, we’re setting up a bit of SSH magic so you don’t have to choose between running your actual SSH server or the Gitea SSH server on port 22, you can do both.
gitea:
  image: gitea/gitea:latest
  depends_on:
    - postgres
  environment:
    - USER_UID=1000
    - USER_GID=1000
    - GITEA__database__DB_TYPE=postgres
    - GITEA__database__HOST=postgres:5432
    - GITEA__database__NAME=gitea
    - GITEA__database__USER=gitea
    - GITEA__database__PASSWD=[redacted]
  volumes:
    - /srv/data/gitea:/data
    - /etc/timezone:/etc/timezone:ro
    - /etc/localtime:/etc/localtime:ro
    - /home/git/.ssh:/data/git/.ssh
  ports:
    - "127.0.0.1:2222:22"
First off, the normal bits. We’re hooking Gitea into our PostgreSQL database using the GITEA__database__* environmental variables and adding a depends_on for our PostgreSQL instance so Docker knows Gitea needs it. The variable names may have changed a little, but it’s just putting the usual “database credentials” peg into a “database credentials” hole.
SSH Passthrough
Now for the weirder bits. In our environmental variables, we’re specifying a USER_UID and USER_GID, these are used to specify what user a container should run its applications as. Frequently these are used to make sure multiple applications can all read the same mounted folders (for example, an *arr setup) or to limit permissions for containers that drop off of being the root user. In our case, we’re going to create a git user on the host server (not in a container) and map USER_UID and USER_GID to the matching user/group ID for this git user.
We’re doing this so both the container and the host server can read two places: /srv/data/gitea, where we’re storing our actual data, and /home/git/.ssh, where we’ll setup some SSH magic to allow for reusing port 22.
Last bit of the weirdness here, for this container we are actually exposing a port, but only on localhost. We do this by specifying the IP for the exposed port to bind to in the ports section of our service definition.
This covers what we need to do within Docker for SSH passthrough, but you’ll need a few more steps to complete the process. You’ll want to read through Gitea’s documentation on SSH passthrough for the last few steps.
Finishing Setup
With these elements all put together, once you bring the service online with docker-compose, you’ll have just a couple steps left for awesome git forge action.
First off, you’ll need another dead simple Caddy config:
gitea.demo.alyx.at {
	reverse_proxy gitea:3000
}
Once that’s added, you’ll be prompted to go through Gitea’s web setup — most of it can be ignored, but you’ll probably want to go through it and set the URL for your Gitea instance and make any other customizations you’d like.
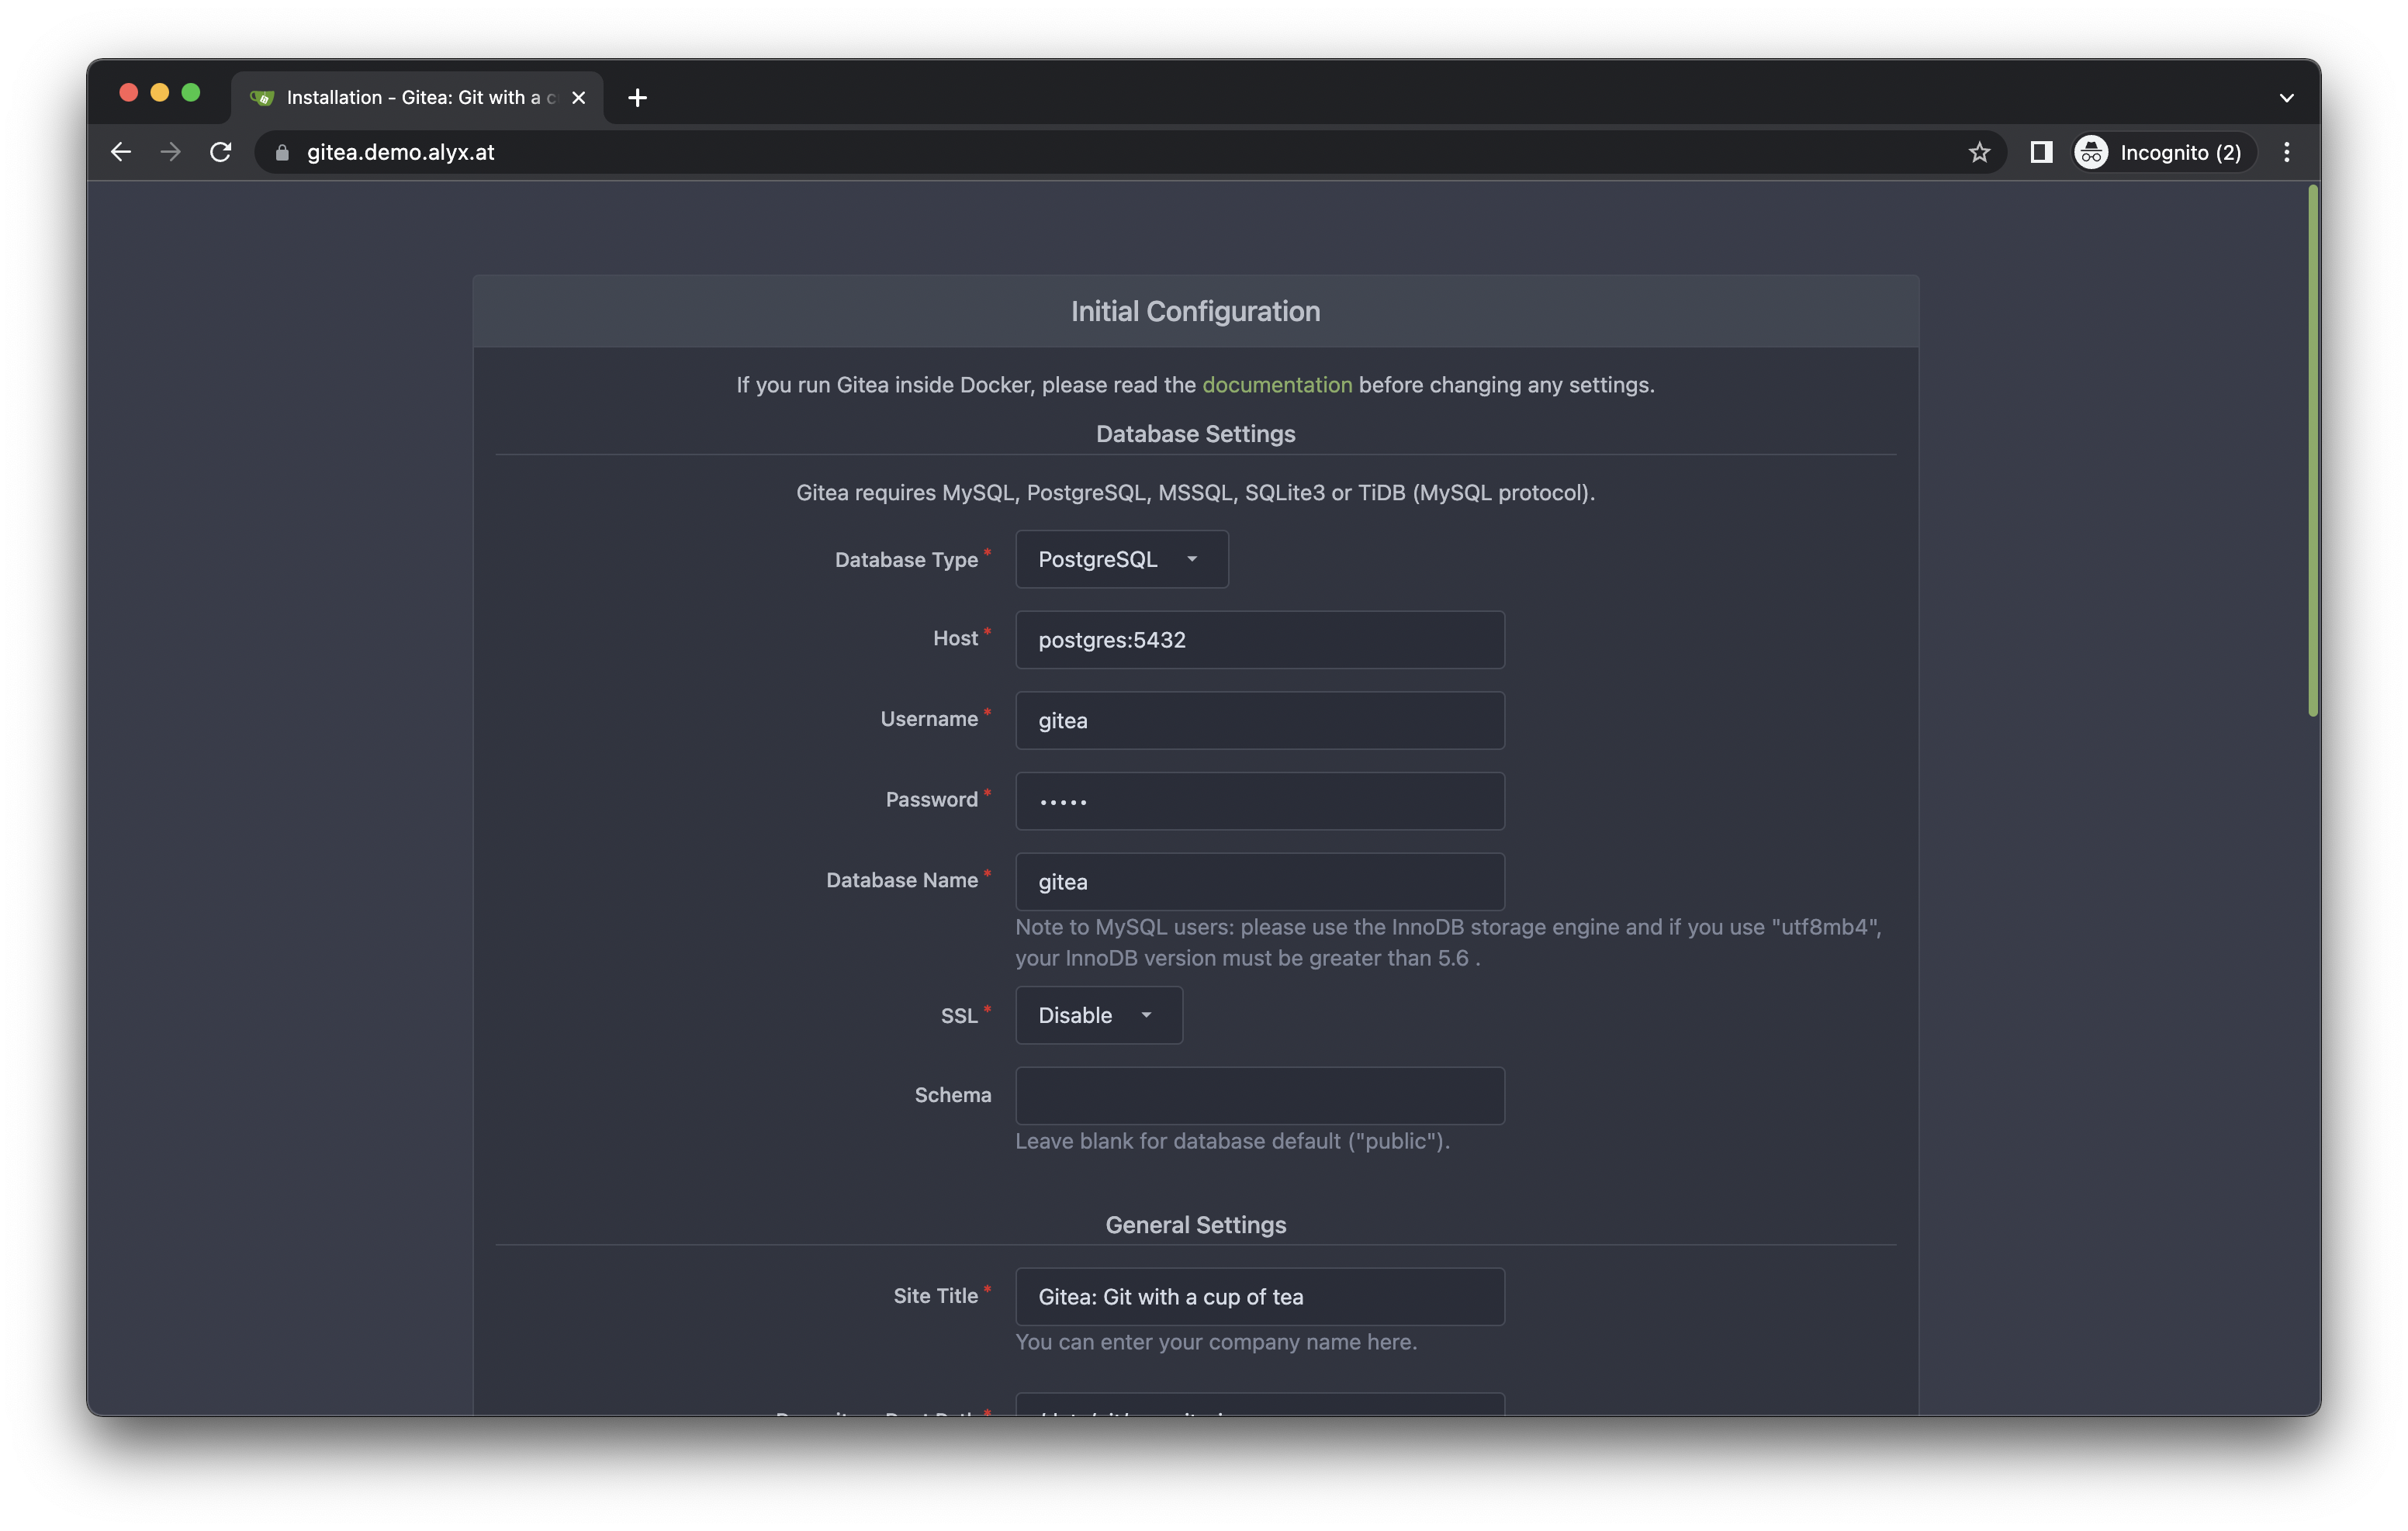
There’s a deep Gitea configuration iceberg here, and we’ve only explored the surface of it. Gitea gives you incredible amounts of customization, so it’s strongly recommended you skim through their config cheat sheet, and their Docker installation guide for more detailed coverage over all of the knobs you can turn and customizations you can set.
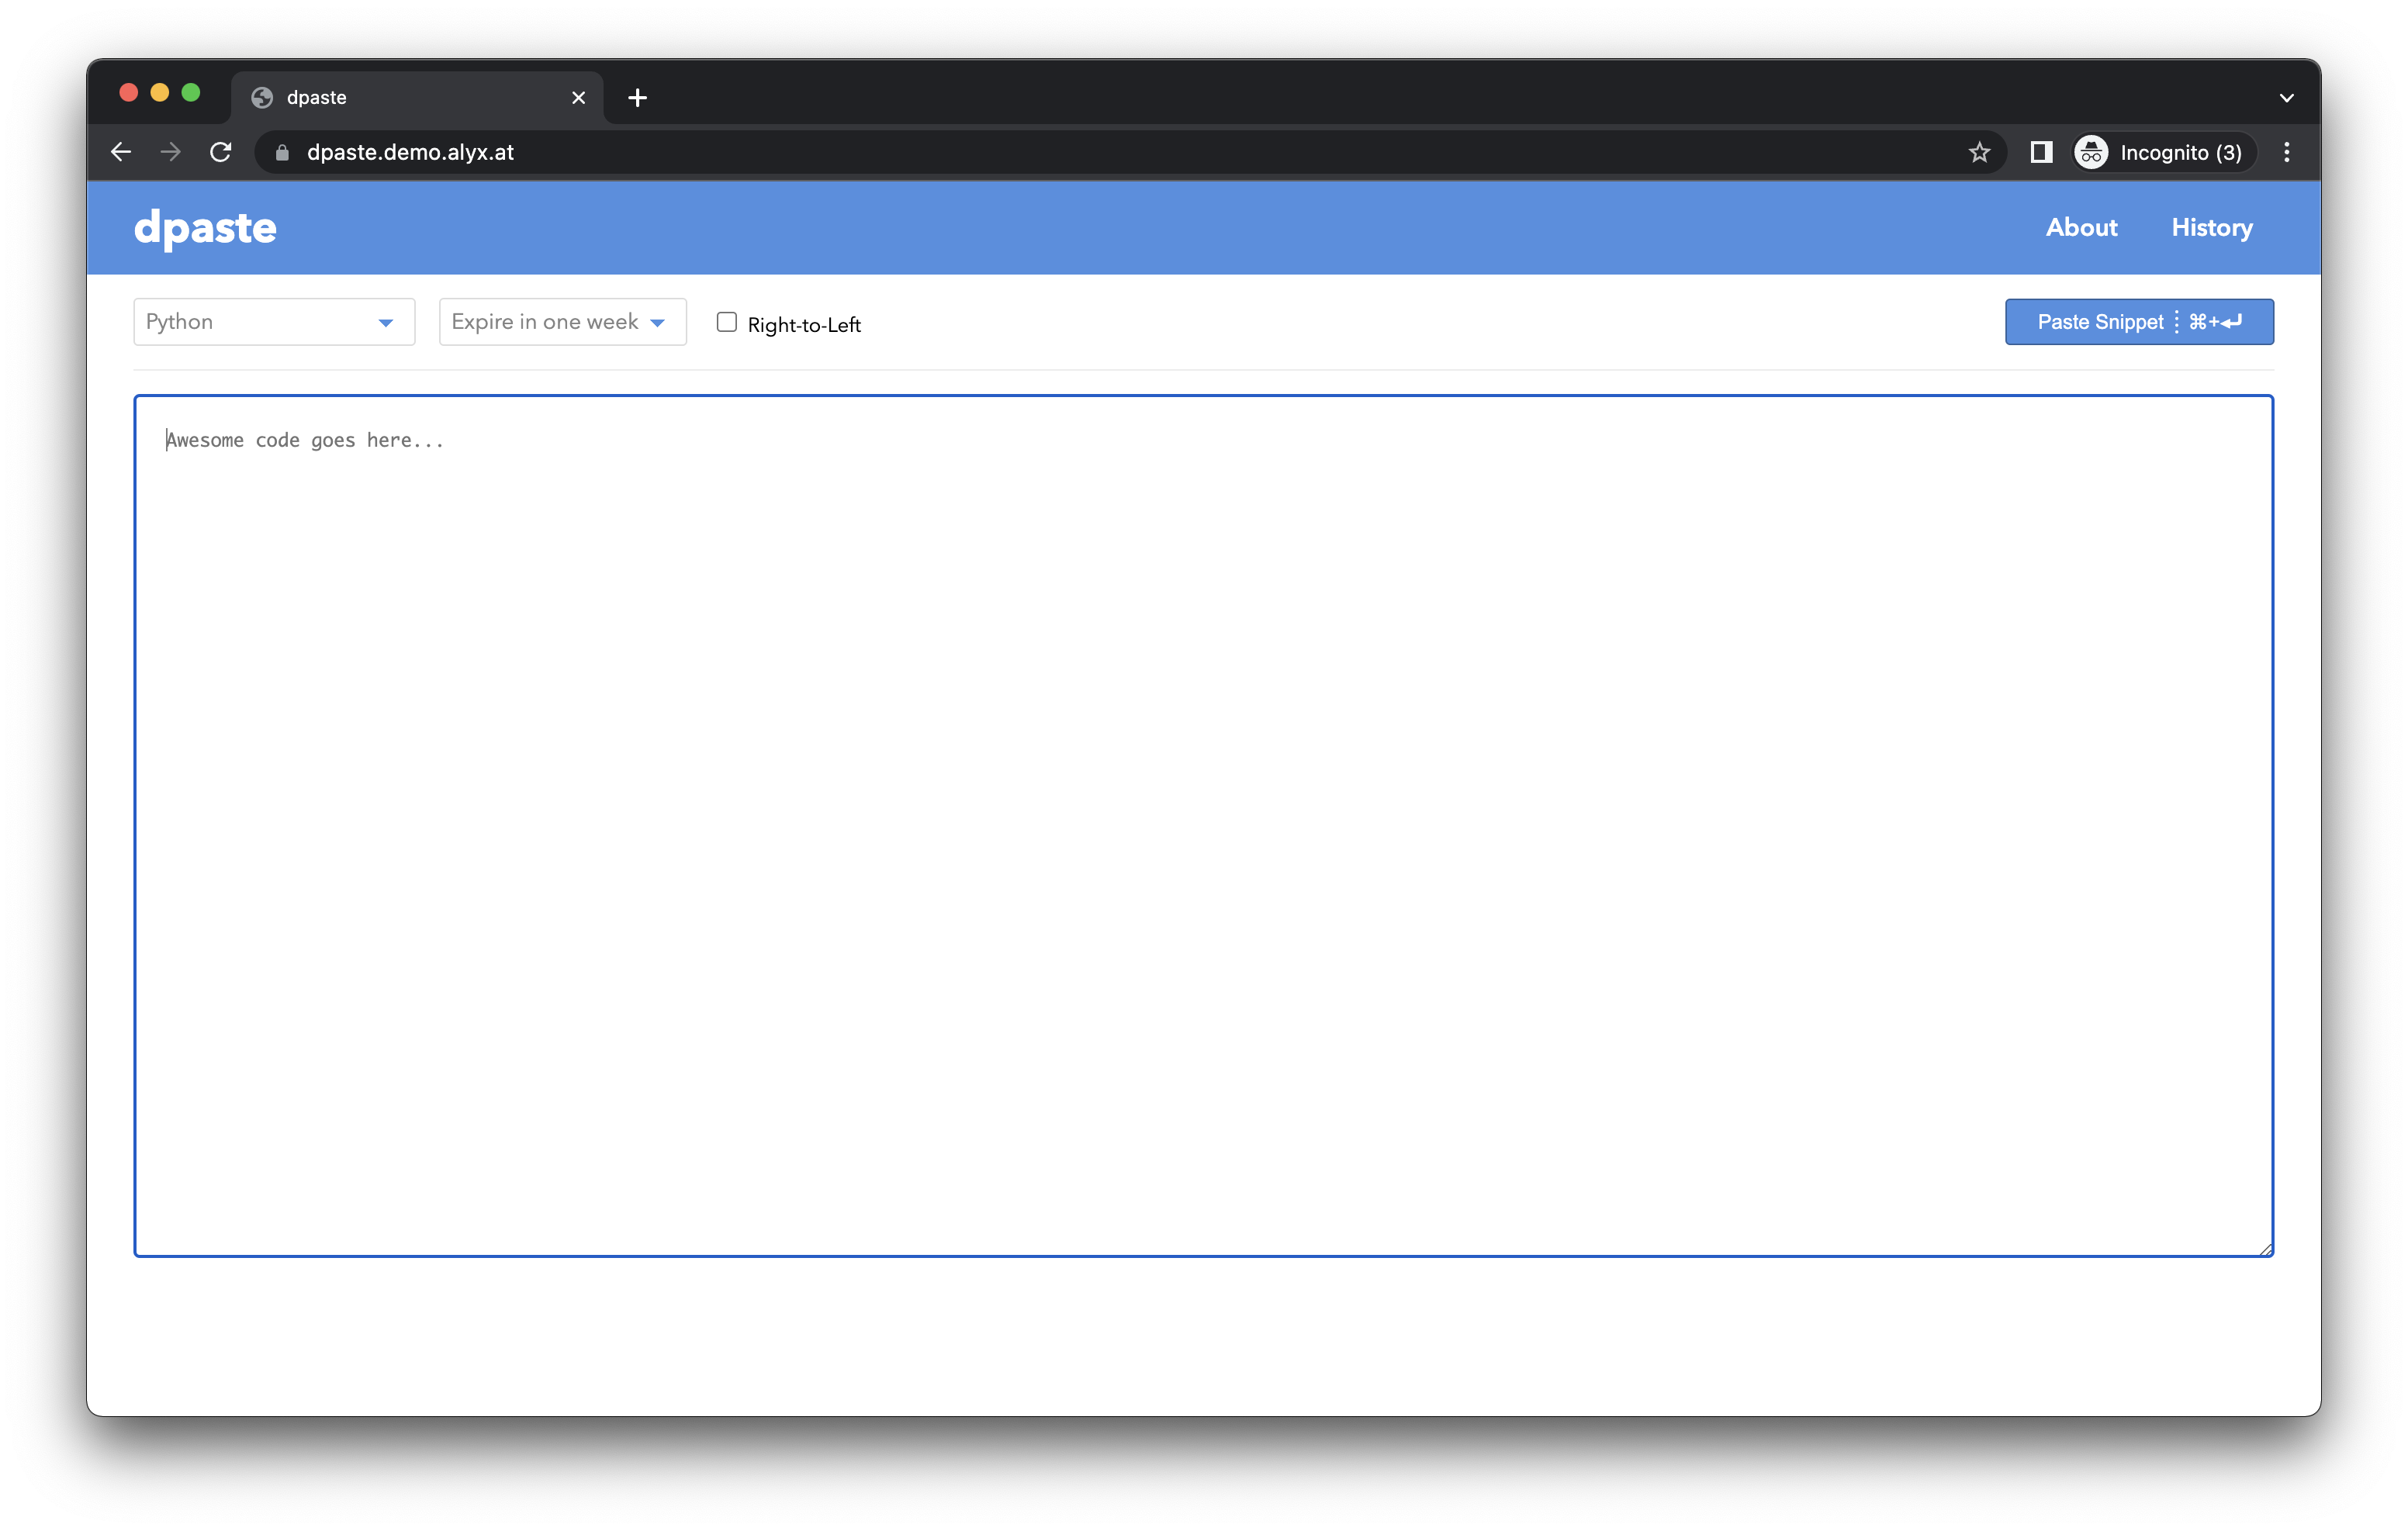
dpaste
Dpaste is a useful, minimal pastebin; dpaste has both a web interface and an API and supports syntax highlighting for hundreds of languages as well as rendering Markdown and reStructuredText.
Dpaste is a bit of an outlier here in terms of configuration; its Docker-exposed config is pretty slim, essentially only asking for a PostgreSQL connection string and a random secret key. For any more advanced config options (e.g. enabling or disabling any specific languages), you need to customize an AppConfig.
dpaste:
  image: darrenofficial/dpaste:latest
  depends_on:
    - postgres
  environment:
    - DATABASE_URL=postgres://dpaste:[redacted]@postgres:5432/dpaste
    - DEBUG=False
    - SECRET_KEY=[redacted]
  restart: unless-stopped
As mentioned, the compose entry for dpaste is pretty darn simple. DATABASE_URL is another PostgreSQL connection string, we set DEBUG to False (with a capital F, this is Python!) to disable debug output, and we add a randomly generated secret key. We also make sure to include the depends_on so Docker knows to startup PostgreSQL before starting dpaste.
The Caddy config here is just as simple, and the exact same as all the others:
dpaste.demo.alyx.at {
	reverse_proxy dpaste:8000
}
Wrapping Up
There you have it, a few awesome tools to help boost your collaboration game to the next level. With just the simple configs we’ve built, you should be able to launch any of them, but it’s important to remember that we’re only at the tip of the iceberg for a lot of configuration — for example, my “real world” setups for Gitea and HedgeDoc have integrated SSO (single sign-on) through authentik, my dpaste instance uses a customized AppConfig to mix up the available languages list so it’s more focused on languages I care about, etc.
You’ve got plenty of room to find your own direction with how your self-hosted environment runs, but whether you’re sharing code, sharing notes, or sharing files, these apps can be a huge help while you’re iterating on that journey.
Leave a Reply